
As the name suggests, 3D printers offer people the opportunity to create a three-dimensional model in a similar way to how traditional printers let you print a 2D sheet of paper. Only a few years ago, these printers were prohibitively expensive, but the 3D printer price continues to fall and now the devices are affordable for homes and offices.
At first these 3D printers only produced simple widgets out of plastic, but as the technology has advanced today’s 3D printers can be used to create anything from artistic models to high-grade medical equipment.
The idea of using a 3D printer may seem daunting at first, but by following our simple guide you will be printing off your first model in no time.
Stage 1. Installing the printer
After unpacking the device and removing all the packaging, you need to put the printer on a flat work-surface and make sure that it stands perfectly level. Even the slightest angle can significantly impact the quality of the printer’s output, so get a spirit level and get it stable and exactly level before you start.
Then it is as simple as plugging the device into your laptop’s USB port, just like a traditional printer, and waiting as your computer automatically finds and installs the relevant drivers over the internet.
Also, keep in mind that moisture from the air can easily ruin your 3D printer filament, and it can ruin your prints as well! You can use a dehumidifier to protect your prints.
Stage 2. Preparation the base plate
You want to make sure that the plate you are printing onto is both flat and will not stick too badly to your printed model, so it is common to cover the base plate with blue painters tape, an acrylic plate, or with a piece of scrap glass.
Stage 3. Check the extruder nozzle
A brand new printer should have nothing blocking the extruder nozzle, but if you have bought one refurbished or if you are simply moving your printer to another room, then you need to check the extruder nozzle is clear of filament build up and debris.
Sometimes after checking the printer, the remains of filament freeze in the nozzle, which interferes with the printing process. The constant flow through this nozzle is critical for a good end-product with 3D printers, so always check the nozzle when you set up your printer!
Step 4. Add the printing materials
Depending on what consumables you will use to print on the device – plastic threads, gypsum, photopolymers, wax, metal powder, etc, this process will be carried out in different ways. For example, to install a plastic thread, you must turn on the device in preheat mode to thread the plastic into the machine.
Stage 5. Find a design or create your own
Now you have the hardware set up, you need to find the 3D model you want to print. You can download the blueprints of a wide array of objects to print from online databases like Thingiverse or create a design yourself using Blender or another 3D design tool. To print the design you then need to slice the design using tools like Simplify3D or Slic3r and you are ready to go.
Stage 6. Start printing
Once you have the digital 3D model sliced and prepared it is time to print – hit that print button and watch your design take shape in the real world.
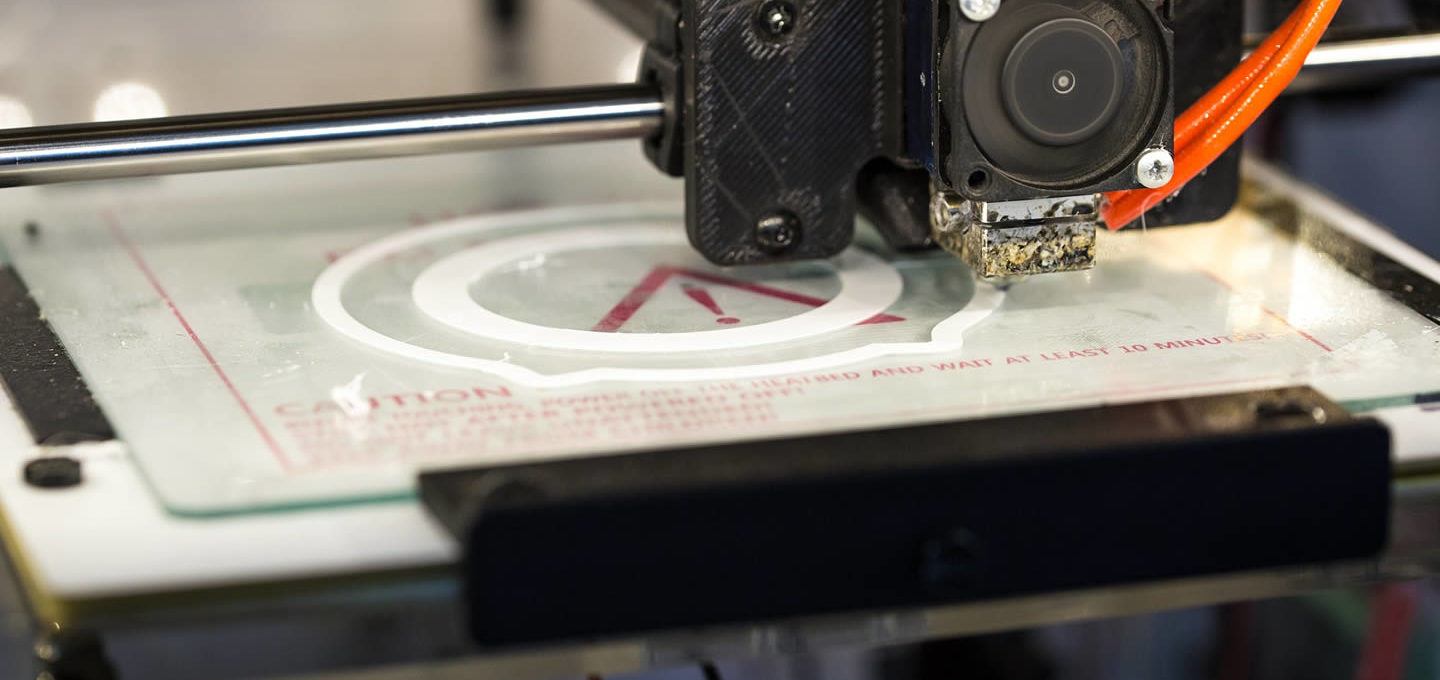
Stage 7. Let it cool
One of the most common mistakes people make when starting to use 3D printers is getting over-excited about their new creation and trying to move it before it has had a chance to fully cool. The materials used in 3D printing need to be heated to be printed, so leave the item a few minutes before trying to touch it.